Understanding Real Estate Photography
What is Real Estate Photography?
Real Estate Photography is a specialized field that focuses on capturing images of properties intended for sale or rent. This genre of photography typically emphasizes a property's best features through careful composition, lighting, and post-processing techniques. While any form of photography generally involves artistic choices, real estate photography hinges on showcasing properties in a way that entices potential buyers. As such, it has become an essential marketing tool for real estate professionals. With the growing importance of online listings, quality imagery has become a standard requirement in the property market. Learning how to navigate this dynamic landscape is vital for emerging photographers.
The Importance of Quality Imagery
In real estate, high-quality visuals serve as the first impression potential buyers get of a property. With many consumers starting their home-buying journey online, captivating photographs can significantly influence their decision-making process. Research suggests that properties with professional photographs often sell faster and at higher prices than those with amateur images. Quality imagery not only showcases a property’s features but also conveys the lifestyle that it affords, making it a powerful marketing strategy. Investing in professional Real Estate Photography can lead to a competitive advantage in a crowded marketplace.
Common Techniques Used
Real estate photographers employ various techniques to enhance their shots, including:
- Wide-Angle Photography: Using wide-angle lenses allows photographers to capture more of a room, providing a clearer understanding of space.
- High Dynamic Range (HDR) Imaging: This technique involves combining multiple exposures to capture details in both shadows and highlights, resulting in images that closely resemble how the human eye perceives scenes.
- Staging: Carefully arranging furniture and decor can significantly impact how inviting a space appears in photographs.
- Proper Lighting: Using natural light effectively, as well as supplemental lighting when necessary, can create an inviting ambiance.
- Drone Photography: For larger properties, utilizing drones can offer unique aerial views that enhance the property’s appeal.
Essential Equipment for Real Estate Photography
Cameras and Lenses for Optimal Shots
A suitable camera is crucial for producing high-quality images. A DSLR or mirrorless camera with high-resolution capabilities is recommended. Additionally, using ultra-wide-angle lenses (typically ranging from 10mm to 24mm) can help capture expansive interiors and exteriors effectively. These lenses make small spaces appear larger and help to display a room's layout clearly. The choice of lens can dramatically alter the outcome of photos taken, so selecting the right one is paramount for success in Real Estate Photography.
Lighting Equipment to Elevate Your Photos
Good lighting is essential in real estate photography, as it highlights a property’s best features. Natural light is often preferred; however, it can be unpredictable. Photographers should consider investing in external flash units, softboxes, or LED panels to ensure consistent lighting. Using reflectors can also help manipulate light to minimize harsh shadows and bright spots. Mastering lighting setups can turn an average shot into an extraordinary one.
Staging Tools and Props
Staging a property is more than just arranging furniture; it’s about creating an atmosphere that potential buyers can envision themselves in. This can involve using items like decorative pillows, vases, art, and furniture. Incorporating plants or flowers can add a welcoming touch. Moreover, ensuring that the environment is clutter-free is critical. Tools such as a handheld steamer for wrinkles or a cleaning kit for minor touch-ups can make a noticeable difference before the shoot.
Preparing Properties for a Shoot
Tips for Effective Staging
To achieve eye-catching images, effective staging must include:
- Decluttering: Remove personal items and excess furniture to create a clean, spacious look.
- Neutral Decor: Opt for neutral colors that allow potential buyers to visualize their style and furnishings within the space.
- Highlighting Best Features: Emphasize unique architectural elements or views that could attract buyers.
Effective staging not only flatters the property but also plays a crucial role in how it is perceived in photographs.
Timing Your Shoot for Maximum Impact
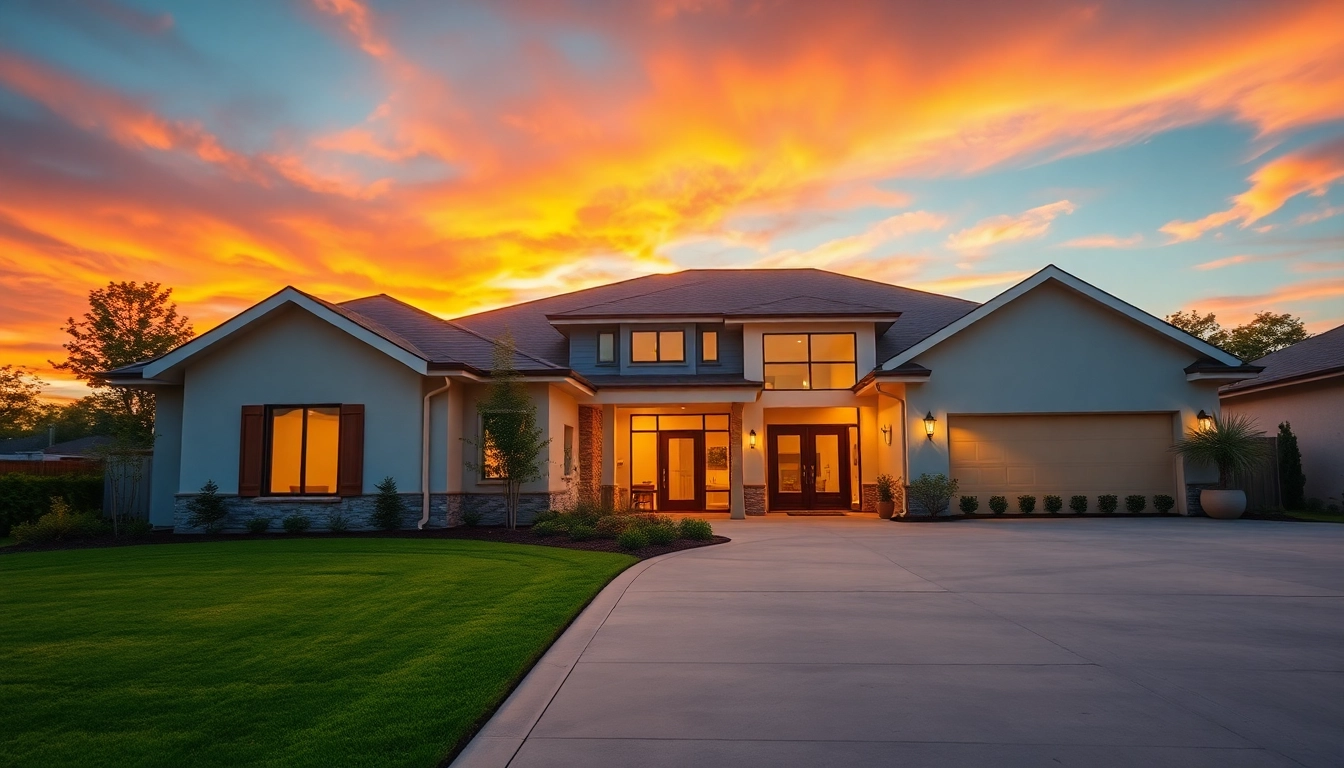
Timing can have a significant impact on the quality of photographs. The best time to shoot is during the "golden hour," shortly after sunrise or before sunset, when the light is soft and warm. Not only does this enhance the aesthetic of the photos, but it also minimizes harsh shadows and bright spots. If an interior needs shooting, early mornings when there’s sufficient natural light is often ideal.
Simplifying Your Shot List
Prior to any shoot, photographers should develop a shot list that prioritizes key areas of the property without overwhelming themselves. This typically includes the exterior, living spaces, kitchens, and bathrooms, while considering angles and features unique to the property. Focusing on a simplified list can save time and reduce stress during the shoot.
Post-Processing Techniques
Editing Software to Consider
Post-processing is an essential step in real estate photography that can dramatically impact the final images. Popular software options include Adobe Lightroom, Adobe Photoshop, and Capture One. These tools offer users a wide array of features for adjusting exposure, color correction, and composition.
Basic Editing Tips for Real Estate Photography
When editing real estate photos, consider the following tips:
- Adjust Exposure: Fine-tuning exposure can ensure that the images are neither too bright nor too dark.
- Color Correction: Ensure colors are vivid and true-to-life. Beware of any color casts due to artificial lighting.
- Utilize Crop and Straighten Features: Cropping can help focus attention on the property by eliminating excess background.
Investing time in the post-processing step greatly enhances the overall quality of images and their marketability.
How to Create a Cohesive Aesthetic
To establish a strong brand identity, maintaining a cohesive aesthetic across all photographs is essential. This can be achieved by using similar editing styles, color palettes, and compositions in each shoot. A consistent style not only builds your portfolio’s visual appeal but also aids buyers in easily recognizing your work, which can create a memorable impact.
Marketing Your Real Estate Photography Business
Building a Portfolio That Sells
A compelling portfolio serves as your calling card. When building a portfolio, include a variety of property types to showcase versatility. Emphasize your best work, using high-quality images that demonstrate your skills in lighting, composition, and editing techniques. Additionally, featuring case studies that explain the impact of your services on property sales can help attract potential clients.
Effective Use of Social Media
Social media platforms like Instagram and Facebook are invaluable for marketing your real estate photography. Create dedicated pages to showcase your work and engage with potential clients. Use relevant hashtags to reach a broader audience and consider creating engaging content that highlights tips for staging or property selling. Building a community of followers can lead to referrals and repeat business.
Networking with Real Estate Professionals
Building strong connections with real estate agents, brokers, and agencies can create valuable partnerships for your business. Attend local real estate events, workshops, or networking groups to introduce yourself and your services. Offering your photography services to agents for their listings can also lead to referrals. Building a solid network can significantly enhance your visibility and resourcefulness in the industry.
FAQs
1. What equipment do I need for real estate photography?
A quality camera, wide-angle lenses, tripod, and external lighting are essential for producing appealing real estate images.
2. How do I stage a property for photography?
Remove clutter, utilize neutral decor, ensure adequate lighting, and focus on showcasing the property's best features.
3. When is the best time to take real estate photos?
The golden hour, shortly after sunrise or before sunset, offers the most desirable lighting effects for photographing properties.
4. How can I edit real estate photos effectively?
Use editing software to adjust exposure and colors while applying HDR techniques to capture detail in highlights and shadows.
5. How should I market my real estate photography services?
Build an impressive portfolio, leverage social media, and network with real estate professionals to showcase your work.